Any manicure that is easy and quick to do along with looking effortlessly chic is my kind of manicure. Lately, I've been loving the effect of applying a nude base colour and adding small details, be it dots, flowers or coloured tips. I'm a big fan of how this kind of look is much more natural and pretty looking than just a block of colour, plus it's ideal if you're going for a fresh spring vibe. Barry M Nude is my all time favourite base shade, and this time I opted for Barry M Grey for the tips.
headertitle

Showing posts with label Nail look. Show all posts
Showing posts with label Nail look. Show all posts
April 20, 2015
June 21, 2014
the reverse french manicure
The typical french manicure of having white tips with a nude coloured base has well and truly had its day, and as much as I love wearing all white nail polish it can look like I've just nabbed the tipex rather than looking sophisticated. I've mixed up the two trends and used the white to paint upwards from the half moons on my nails, it really is just as easy as painting them as you normally would (in vertical stripe motions) except you start at the half moon rather than base of the nail. You will want to keep some cotton buds soaked in nail polish remover handy just to tidy up and create as much of a neat line as possible but apart from that if you have a fairly steady hand then you should have no problem at all having a go.
June 02, 2014
navy blue tipped nails
BARRY M NUDE NAIL PAINT - £2.99 | RIMMEL FINISHING TOUCH TOPCOAT - £4.49 | AA NAIL LACQUER IN NIGHT SKY - £9
If you are a regular reader of my nail posts then you will know how much I love this look, I wear it literally all of the time but alternate between colours. I'm a huge believer in the 'less is more' approach and just love how this allows the natural nail to show through with just a pop of colour, rather than a heavy block of colour as when you paint the whole nail. Simple yet sophisticated, and also super easy to correct should any chipping of the colour occur. This top coat by Rimmel has also become a firm favourite of mine, it glosses over the nails to give perfect shine and makes them diamond strength too, it's pretty much just a better version of seche vite and it doesn't go gloopy either.
January 24, 2014
bright blue tipped nails
Painting the tips of my nails with a bright shade and using a nude colour for the rest of the nail is my favourite way to wear nail polish, though I usually have to wait until my nails are super long for it to look best. Black is a great colour to use too as it looks so unusual but I love the burst of colour using this vivid blue colour too. It's a super easy look to create and is much more resistant to chipping than when painting the whole nail with colour!
RIMMEL NAIL NURSE | BARRY M BLUE GRAPE GELLY NAIL PAINT | BARRY M NUDE NAIL PAINT
October 23, 2013
halloween: pumpkin nails
COLLECTION FAST STROKE EYELINER | MODELS OWN EMERALD CITY | MODELS OWN BEACH PARTY
Today I'm back with another Halloween themed nail look, you lucky things! On another note I'm currently setting up a blogging desk so will be back with normal reviews once that's done. Anyhow, these pumpkin nails are a little harder to create than the dripping blood nails I did for my last post but all you need is a steady(ish) hand, a neon orange polish, a green glitter shade and a liquid liner to create the silly pumpkin faces. You can always just draw a pumpkin face on an accent nail and leave the rest plain orange if you don't have the time to do the full set.
October 20, 2013
halloween: dripping blood nails
NAIL DOTTING TOOL - EBAY | BARRY M NUDE NAIL PAINT | CHANEL ROUGE NOIR LE VERNIS
With Halloween well on it's way I'm going to try and squeeze in as many scary make up and nail art idea posts as I can, starting with this post on dripping blood nails. It's a super easy look to create as the messier looking the drips are the more realistic it looks, there's really no skill needed whatsoever. Just paint on a nude coloured base and use a brownish red shade for the blood effect, start by creating rounded lines from the tip of your nail with the brush and then use a nail dotting tool to add extra detail.
September 22, 2013
pastel nails for autumn
MODELS OWN CONCRETE MIXER | APPLE PIE | UTOPIA | PEACH SHERBERT | BETH'S BLUE
This nail look is perfect for the transition between Summer and Autumn, I decided to add a greige colour to the mix to tone down the colourful shades and to give an unusual edge. Had it been Spring I would have used a pale yellow shade instead of the grey but I think this look works much better with Autumnal shades of clothing.
September 18, 2013
glitter dipped nails
I've been favouring a natural looking nail with a glitter dipped effect on the tips lately, I love how simple yet eye catching it looks and that it means I don't keep having to switch my nail colour to match outfits on a daily basis. It lasts much longer than a normal manicure too as when it chips you can just pop a little more glitter on, to create the look just use a nude base shade then messily paint on the glitter over the tip. I've been wearing my nails like this for weeks now and have been playing around with it by alternating the shade of glitter that I use, but you all simply must purchase this Bourjois glitter as it looks better than any other I have tried and looks truly magical in person.
BASE SHADE: BARRY M NUDE | GLITTER: BOURJOIS 33 ENCHANTING POTION
May 07, 2013
tutti-frutti dotted nails
NAIL DOTTING TOOLS - EBAY | AMERICAN APPAREL NEON GREEN & NEON ORANGE | MODELS OWN PINK NAIL ART PEN | MODELS OWN SNOW WHITE
I've been playing around with my nail dotting tools again and have created this bright neon dotted effect. I started in the bottom left corner of each nail with a bright pink shade then moved onto the green and lastly the orange to created diagonal stripes of each colour. I absolutely love the overall effect and it's definitely the brightest that my nails have ever looked, which can only be a good thing. Nail dotting is unbelievably easy to do once you get the hang of it properly and that's coming from a very clumsy person, it's really worth giving a go.
www.travelsupermarket.com/c/holidays/
beauty-and-the-beach-two/ - See more at: http://www.travelsupermarket.com/c/holidays/beauty-and-the-beach-two/#sthash.93GKWGRM.dpuf
beauty-and-the-beach-two/ - See more at: http://www.travelsupermarket.com/c/holidays/beauty-and-the-beach-two/#sthash.93GKWGRM.dpuf
March 19, 2013
silver glitter tipped nails
Since this blog post that I wrote on a glitter tip nail look is one of the most viewed ever on my blog I thought that I'd have another go. This time I used Barry M 'Nude' as a base colour (review coming soon) and used Color Club 'Platinum Record' on the tips. I only used one coat of glitter as I wanted it to look delicate and grown up.
August 12, 2012
neon yellow half moon nail design
Lately I've been bored with wearing just one shade of nail polish so I decided to mix it up a bit and try my hand at some nail art. I know it looks fairly basic and simple but you definitely need to have a steady hand and good eyesight to be able to pull it off, and a cotton bud soaked in nail polish remover at the ready to clean up any mistakes. It's also best to use a thin nail polish and not one that has gone tacky as it can make it impossible to draw a good line. Illamasqua 'Rare' is exactly the same colour as the one I used and is easier to get hold of in the UK.
American Apparel 'Cotton' and China Glaze 'Yellow Polka Dot Bikini'
February 28, 2012
holographic glitter nails
October 21, 2011
rimmel instant art nail wraps
Hi dolls, just a quick post today on the Rimmel Instant Art nail wraps that I have been given an exclusive sneak peek of before they hit the shops.
The strips are surprisingly easy to apply and literally take half of the time to painting your nails, and then of course the best bit is you don't have to wait around for them to dry! I've posted on nail wraps before so don't really need to go in depth about how they are applied, but basically they are perfect for any nail polish addict that doesn't have the time to faff around with polish. Just place on the nail, rub down and file off the excess wrap, simple. I found that they lasted the same amount of time as a normal polish would without a topcoat, so basically a couple of days before the tips started to chip.
I am in love with the Union Jack design especially with the grungy grey and black shades, definitely something to try for Autumn/Winter.
This was a sponsored post
xox
May 09, 2011
nail rock leopard print nail wraps
The other day I tried out some nail wraps for the first time by Nail Rock and I was pleasantly surprised at how easy they were to apply. I'm going to do a tutorial video soon on how to use them but basically you just pick the correct sizes from the sheet and stick them half on from the cuticle area, you then use a hair dryer on a low setting which melts them slightly and just rub over any air bubbles to smooth them down. After they are applied, depending on your nail size, you will probably have to snip any excess off the end with nail scissors and then file in a downwards motion to smooth the edge and make the wraps blend with your nails. The process is a lot easier with longer nails and as mine were short at the time it took a little longer than usual. But for a first attempt I think I did pretty well! It took around 40 minutes to complete both hands but with a bit of practice probably half that.
I wore them in London for a few events the next day and the got a handful of compliments which showed the effort was definitely worth it. I did actually end up removing them a few days later but only because I'm really bad at changing my nail colour constantly, most reviews say that they last roughly a week on longer nails. There are 24 nail stickers in a pack which means you get two sets of manicures (or even pedicures) for your money. If you fancy a different design then have a browse on the Nail Rock website as there are plenty of options.
Price: £6.65
Available at the Nail Rock website: Leopard print design
January 28, 2011
dripping nails
I tried to do the 'dripping nail polish' on my nails the other day and I reckon they turned out pretty good for a first time go. All I did was applied model's own polish in 'snow white' as a base and then used a black nail polish by Gosh to create the dripping effect. The brush in the nail polish was quite small so it was ideal and not too tricky to use. It does take a little bit of practice but there is no set way of doing it so just try different methods out yourself.
December 14, 2010
candy cane nails
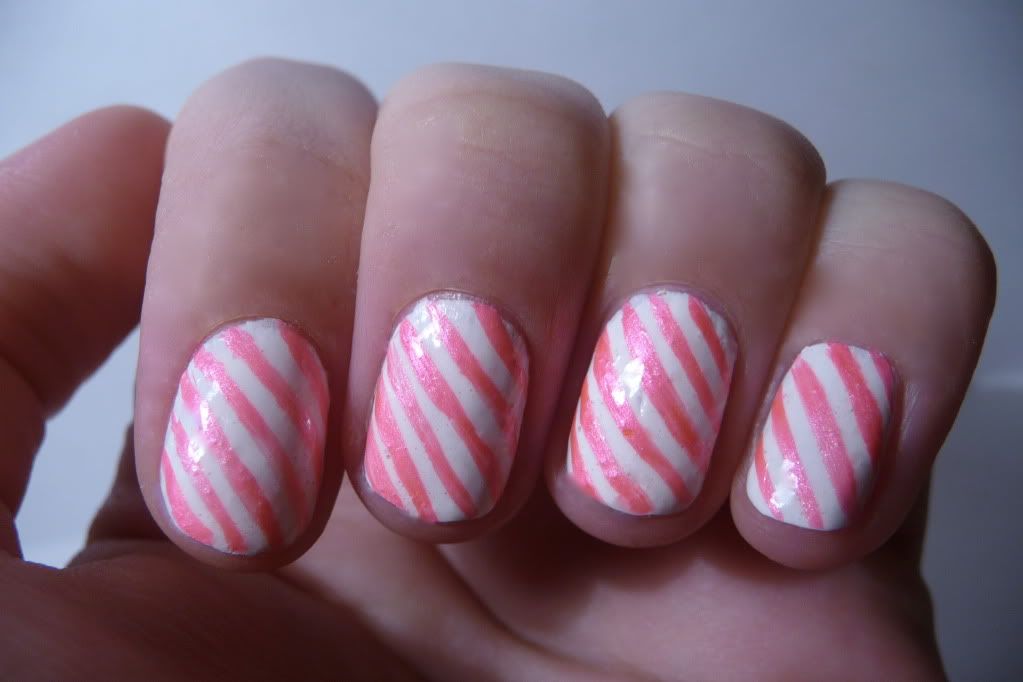
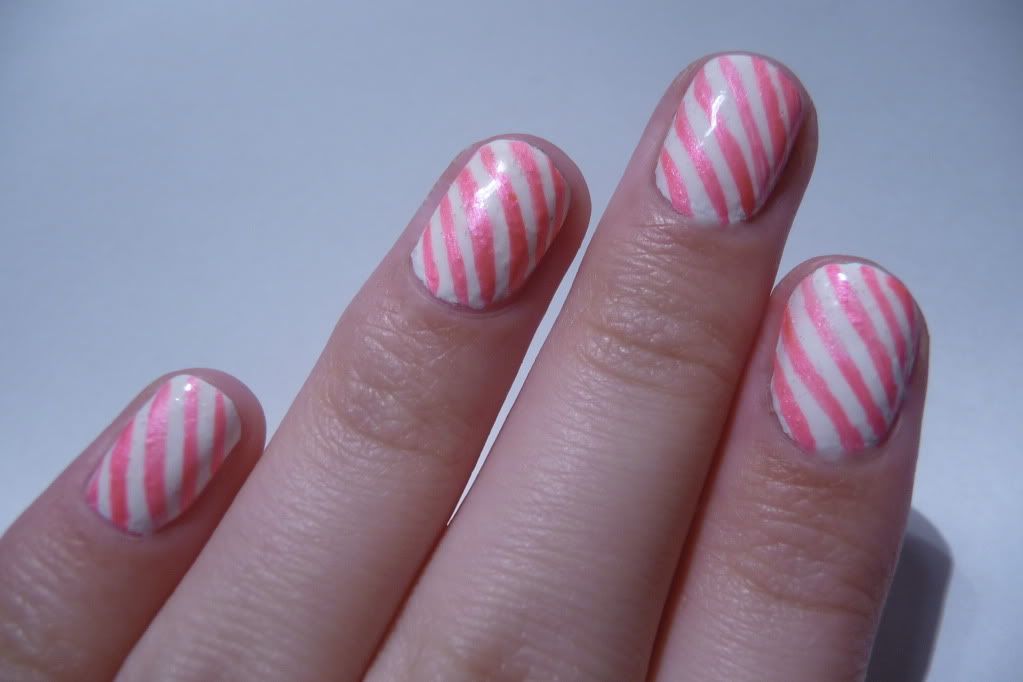
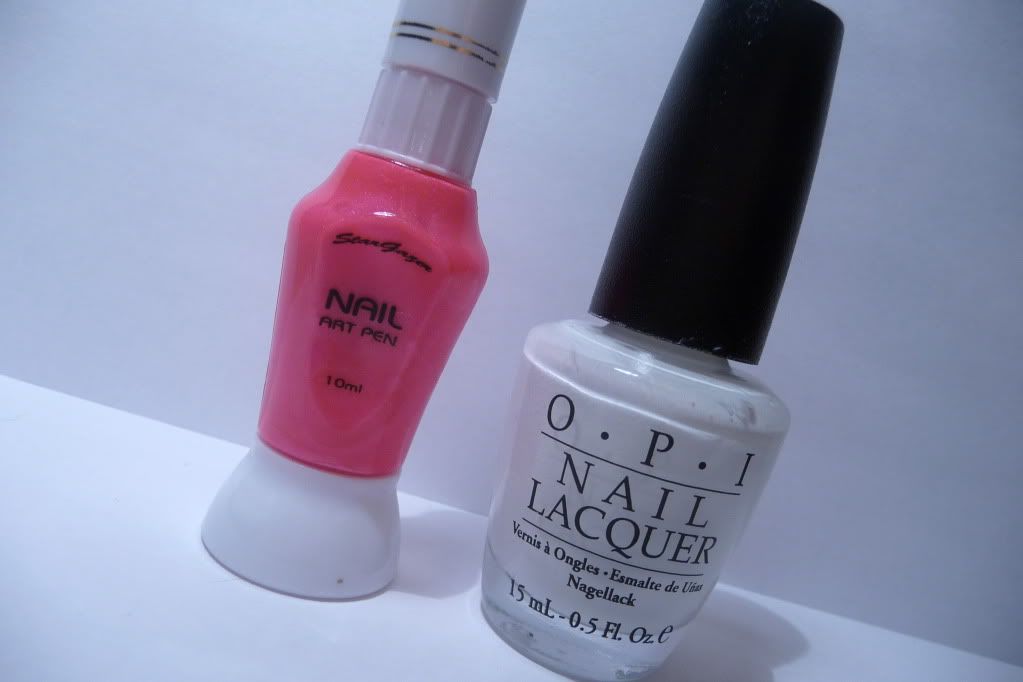
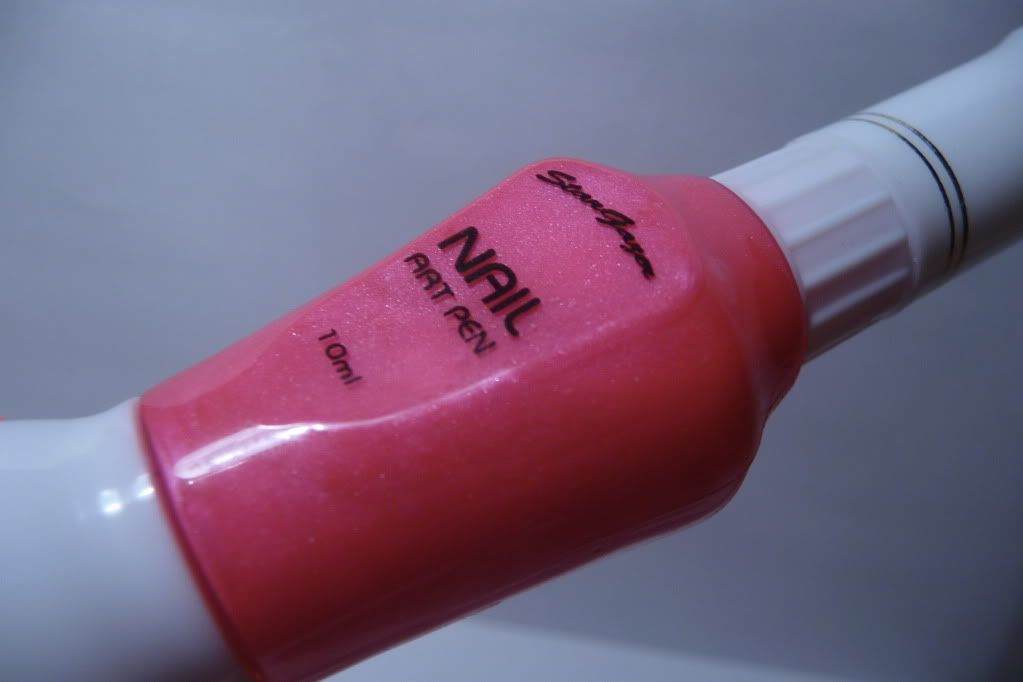
I was having a play with the nail art pens that Stargazer sent me to try out and came up with this gorgeous candy cane style look. I do have quite a steady hand but I also have the tendency to muck things up because I'm very clumsy, so I think for a first attempt at striped nails it's not too bad! It was actually really easy to do though, just apply two coats of a bright white colour like alpine snow by OPI (which is what I used) and then drag the thin nail art brush across the nail to create stripes, simples! The fuchsia colour by Stargazer which I used is so much more bright in person and looks very neon.
OPI 'alpine snow' - £9.50
Stargazer nail art pen in 'UV pink' - £3.00
♥
June 26, 2010
glitter tipped nails
In my opinion, doing your french tips with white glitter rather than white nail polish looks much more up to date. I used to wear a french manicure all the time, but I got really bored of it and haven't worn it for years, as it is so, um, predictable? I just bought a big pack of white glitter from Paperchase for £1.50 and the pink base coat was Secret Affair nail polish by Essie which I love. All you have to do is wait for the pink colour to dry, then apply your top coat just over the tip of your nail, as you would normally apply the white colour for a french manicure. Then dip the tip of your nail that you just painted in the glitter, brush off the excess glitter and wait for it to dry then apply your top coat. Simple!
In the light -
In the shade -


